Consent

This site uses third party services that need your consent. Learn more

Skip to content

Blog

How to delete 'phantom' pictures in MS Word on Mac

Headshot of Craig.

Craig Wright

Do you have a 'phantom' image in a Word document that you just can't delete? You can see the image, but you can't cut it or delete it, right? Here's how to get rid of the pesky little bleeder.

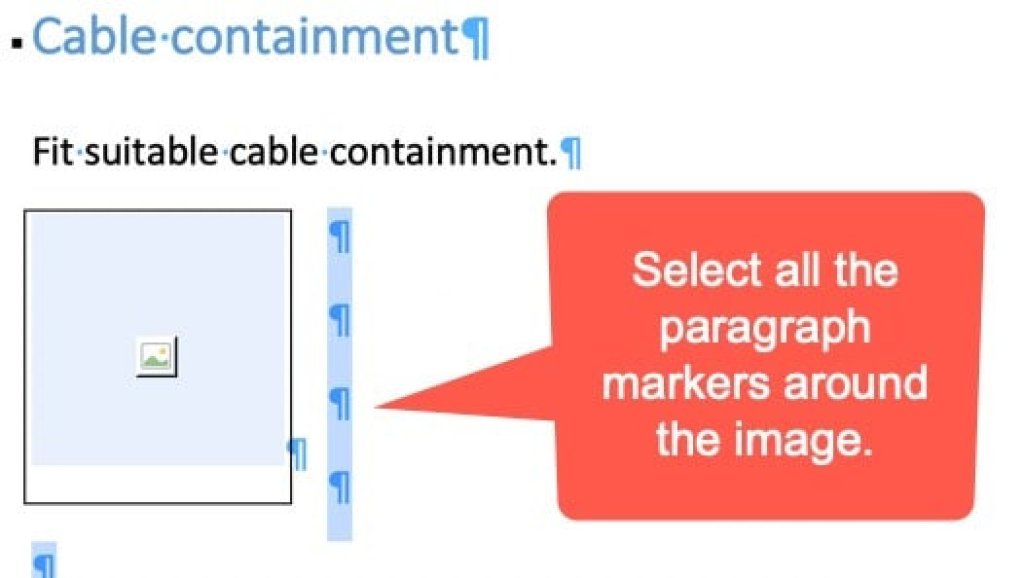
  1. Show the paragraph markers.

Show symbols.
  1. Highlight all of the paragraph markers around the 'phantom' image.

An image that is left aligned. To the right of the image are 4 paragraph markers. A callout advises you to select all of the paragraph markers around the image.
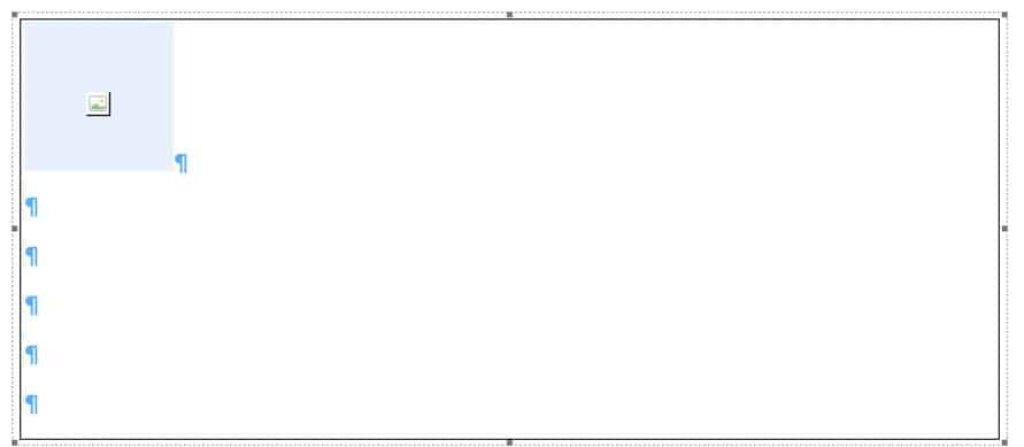
  1. In the Developer menu, select Frame. If you don't have the Developer menu available, you can add it via the Word menu (Word > Preferences > Ribbon and Toolbar > Developer).

Microsoft Word Developer bar at the top of the display. The Frame option is highlighted.
  1. A frame is added around the 'phantom' image.

An image box inside a frame.
  1. Right-click on the frame and select Cut.

A frame is selected. There is a drop-down menu and it has options for Cut, Copy, Paste, Borders and Shading, and Format Frame.

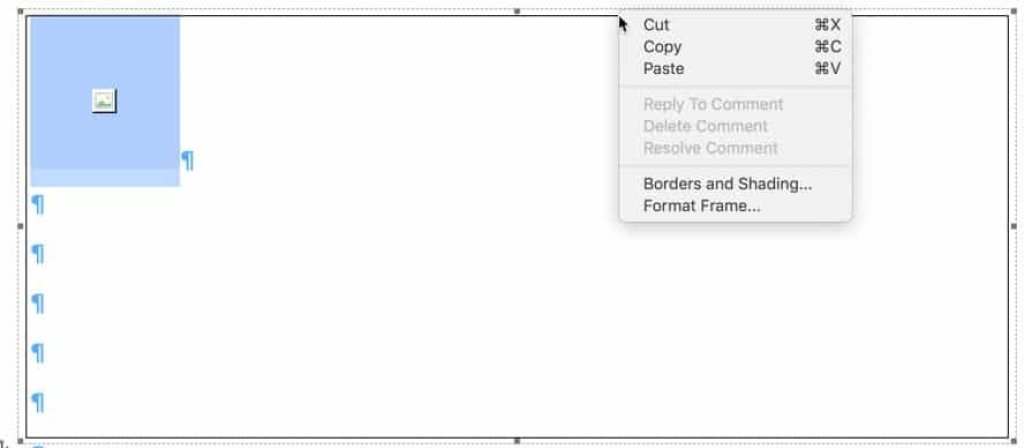
And that's it, 'phantom' picture exorcised from your Word document.

Posted under MS Word

Last modified: 18 May 2024

Headshot of Craig.

Craig Wright is an experienced technical writer based in Chesterfield, UK.  He hates writing about himself in the third person, so I shall stop now.

Always interested in new content writing opportunities. Remote working preferred.

Get in touch

Let’s talk about your project

I’m here to help and offer my expertise as a technical writer. Get in touch and let me know what you need.